
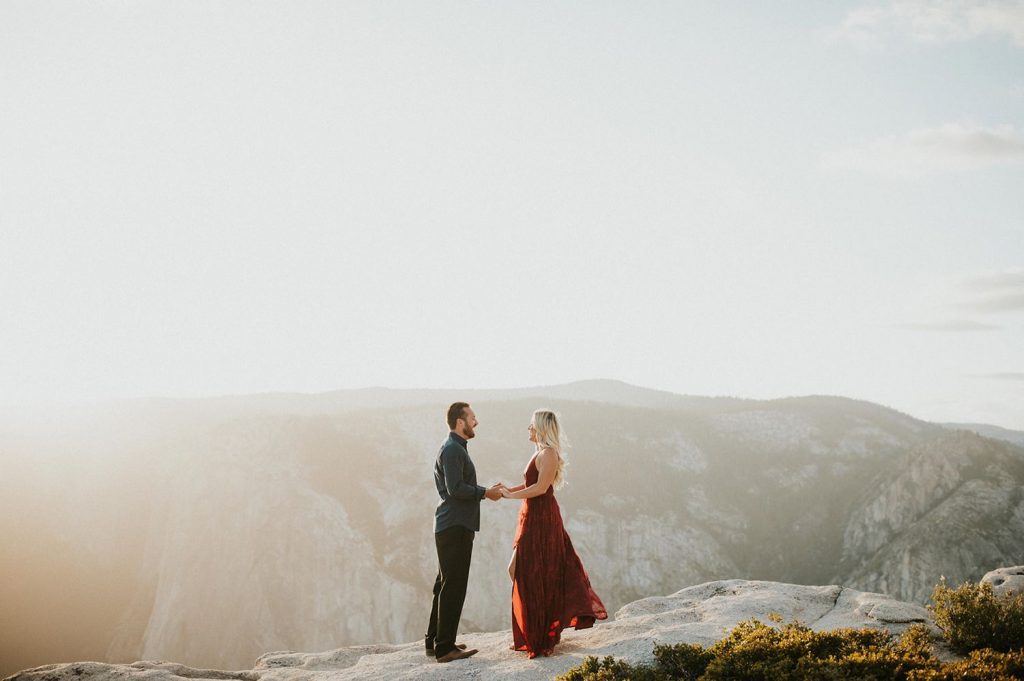
August 20, 2020
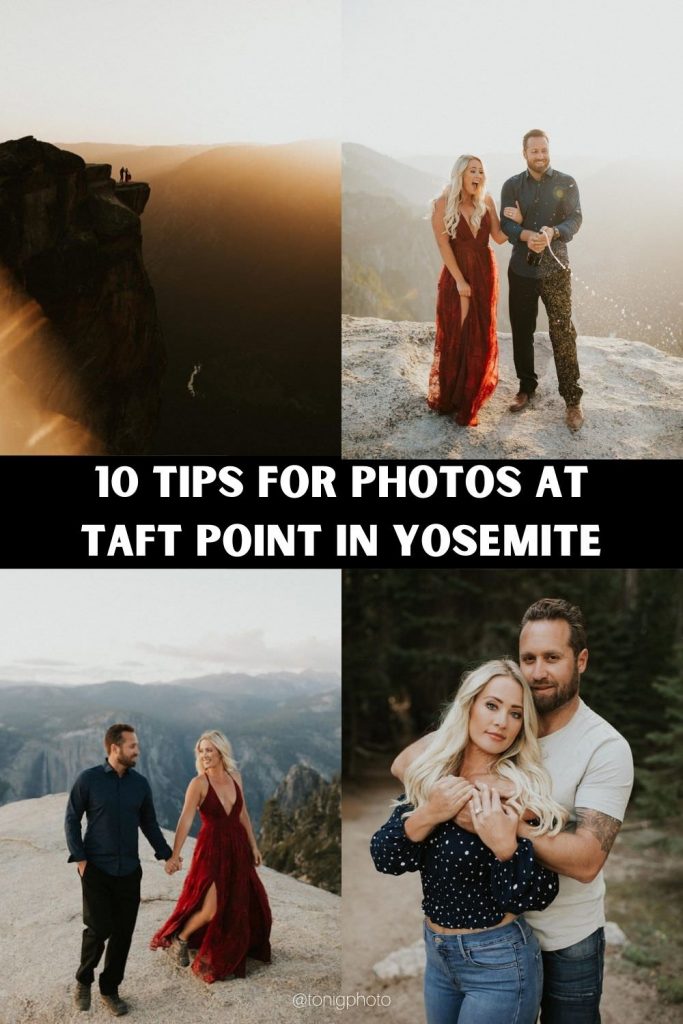
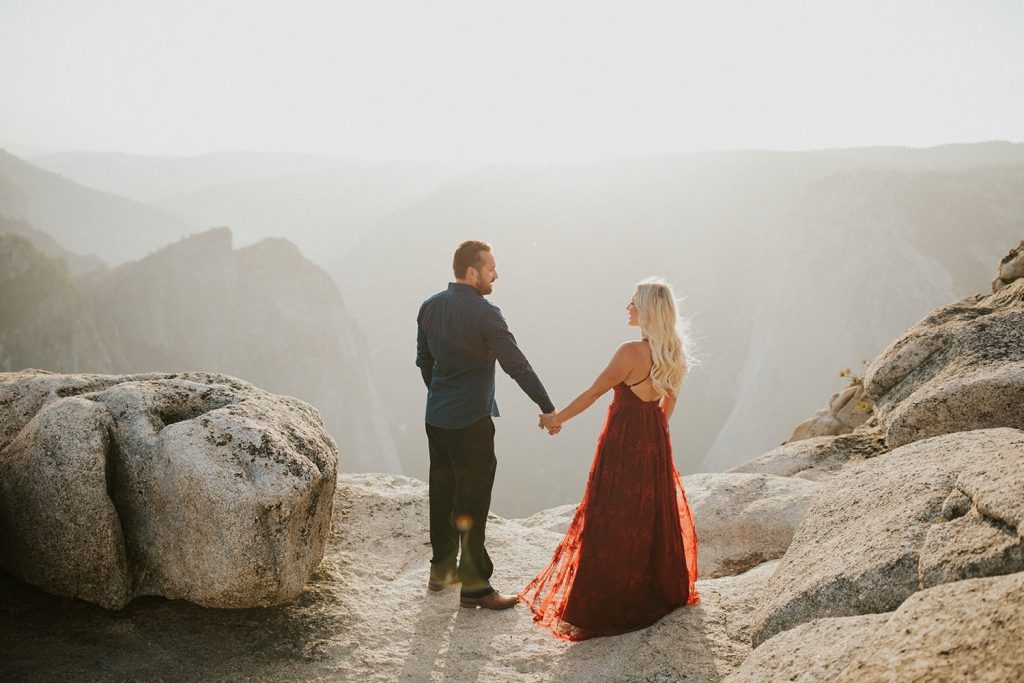
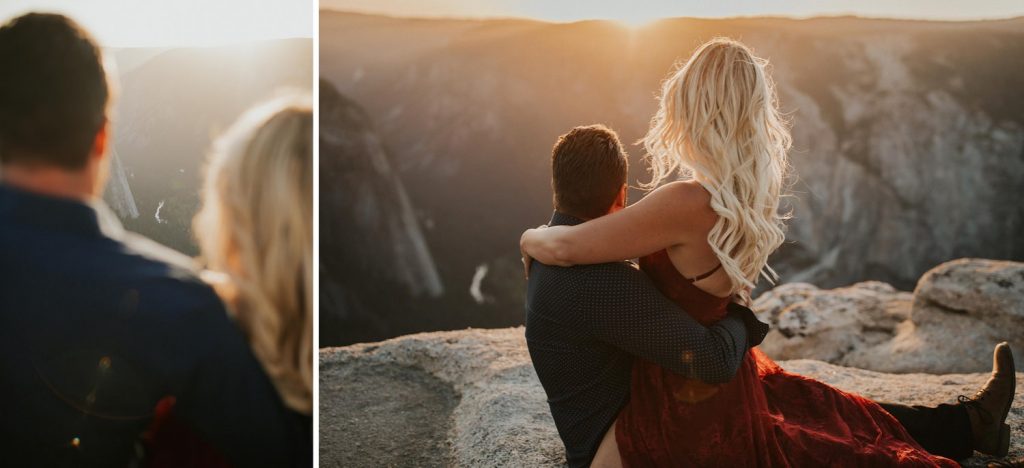
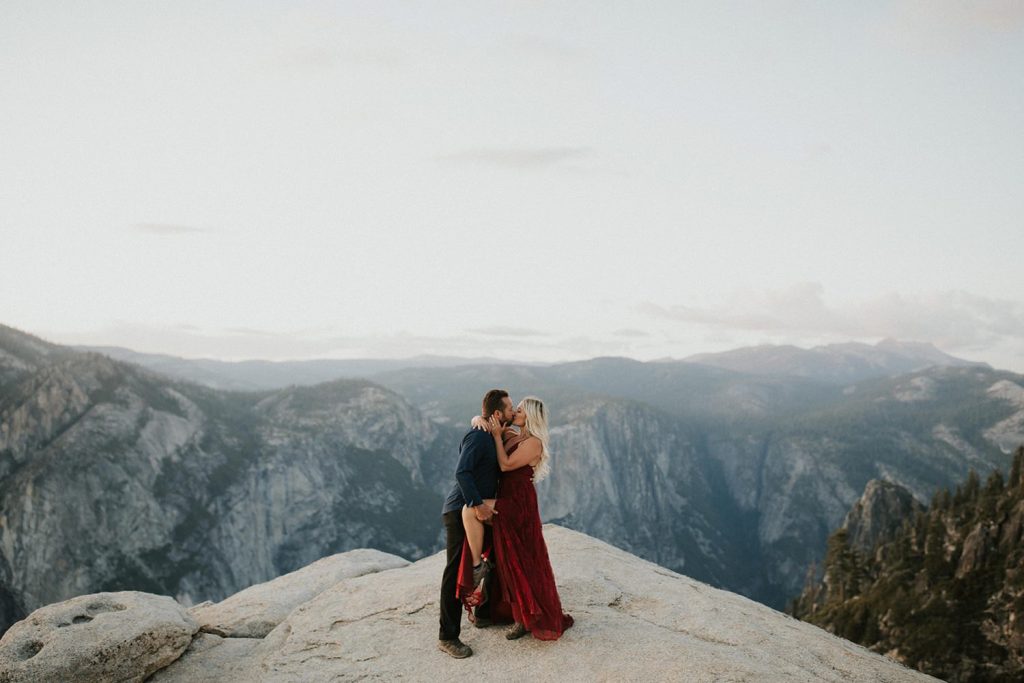
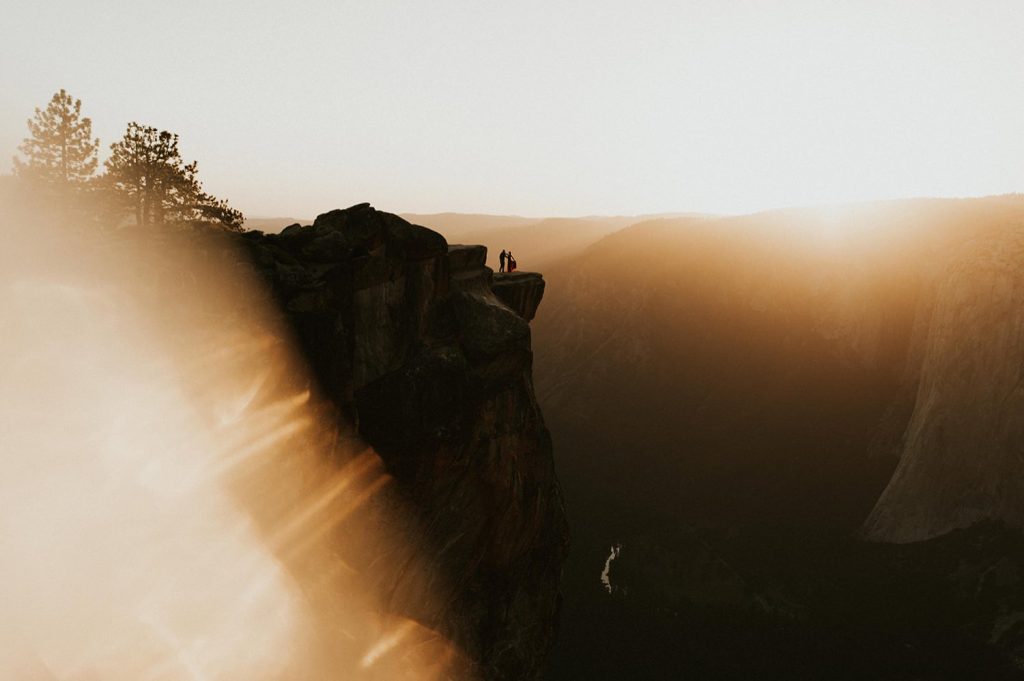
Photos up at the Taft Point Cliffs in Yosemite National Park are sooo so EPIC + I firmly believe that everybody deserves to have those iconic cliff photos to print & hang on their living room walls… so please enjoy… my tips to ensure that you get the best photos possible at Taft Point!! :))))
Tips for Photos at Taft Point
1. Plan for SUNSET
Whenever I book a Yosemite shoot… the first thing I do is Google the sunset time for that session date + create the schedule off of the sunset time. I’ll usually want an hour to shoot on the paths leading up to the cliff views + then another hour to shoot at the cliffs during sunset. And as soon as the sky starts to turn that pretty purple/pink color, I’ll shoot the last shots so we can start hustling back to the car before it gets too dark in the woods lol!
2. Make sure you have a VEHICLE DAY PASS
***UPDATE: This is no longer necessary because as of Jan 1st, 2021 the covid restrictions have been lifted! :))) But keeping this info up here just in case it comes back lol!!*****
You will get up to the parking lot spot by typing “Taft Point Trailhead” into your GPS system… but BEFORE you do that… BE SURE that you buy a “vehicle day pass” from the park ahead of time from this website here: https://www.recreation.gov/ticket/facility/300015 — Not gonna lie it’s kind of a pain in the butt to get a pass these days, because they’re really restricting the amount of people who can get into the park due to corona… but that website above explains the process. It’s an extra $35 if you don’t already have an annual pass or $2 if you do have an annual parks pass. And they WILL turn you back around & deny entrance if you don’t get this pass in advance (you can’t buy them at the gate). Since it’s kinda hard to get a pass… I usually just buy one for my clients + meet up somewhere down the mountain to hop in each other’s cars so we can all get in with one pass. It’s also helpful to meet up somewhere down the mountain (rather than up at the trailhead), because you will not have cell service up there… so it’s just a lot easier to meet up in the Oakhurst area anyways so there are no issues with not having cell service :)))
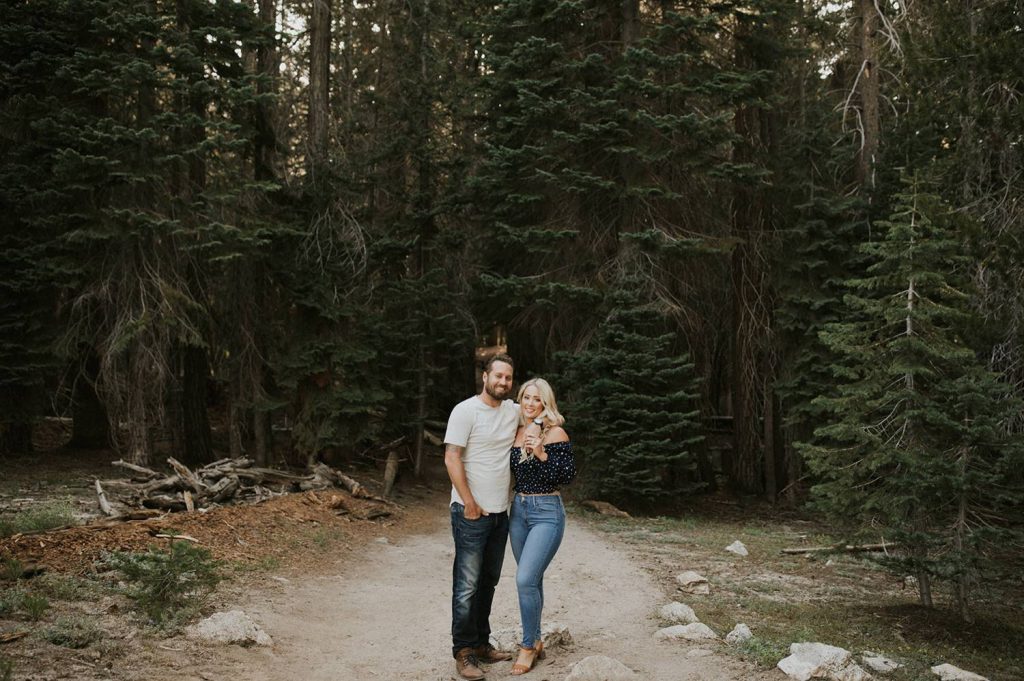
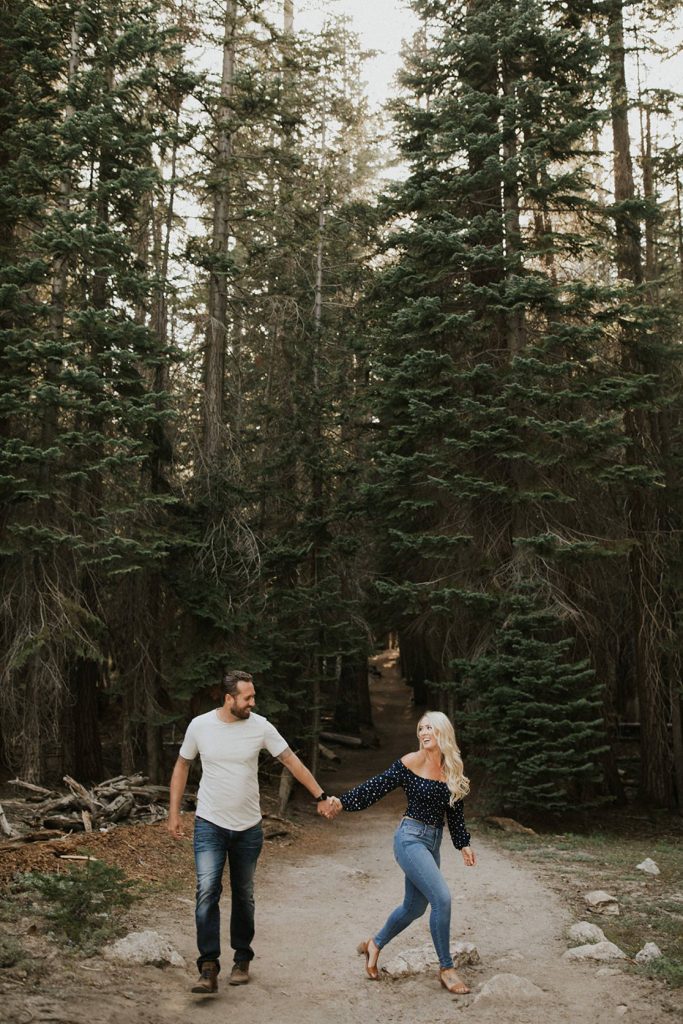
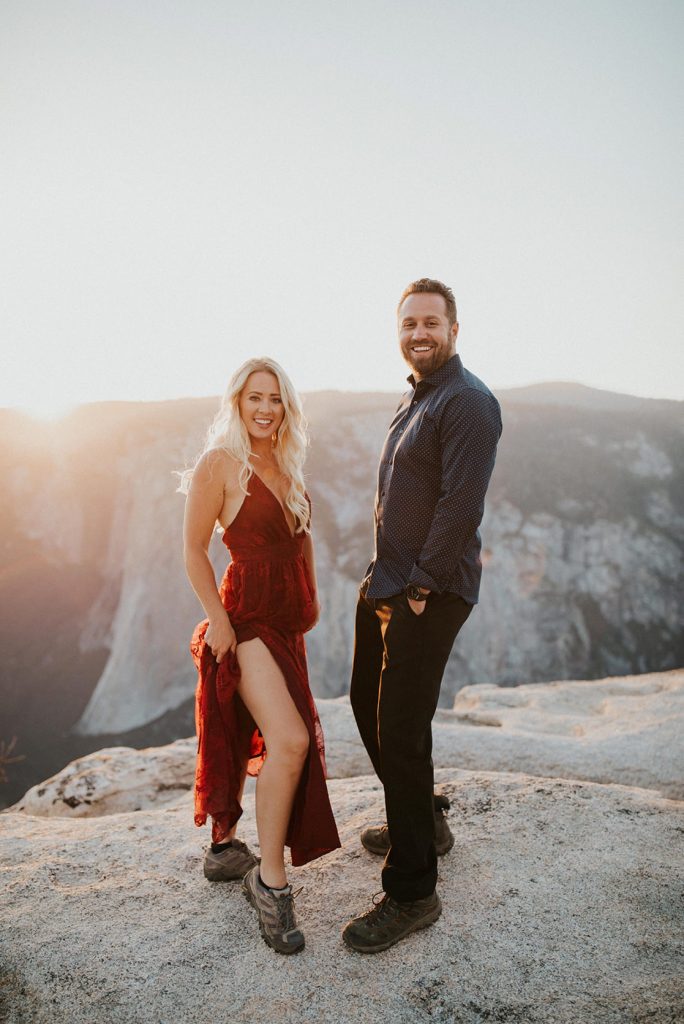
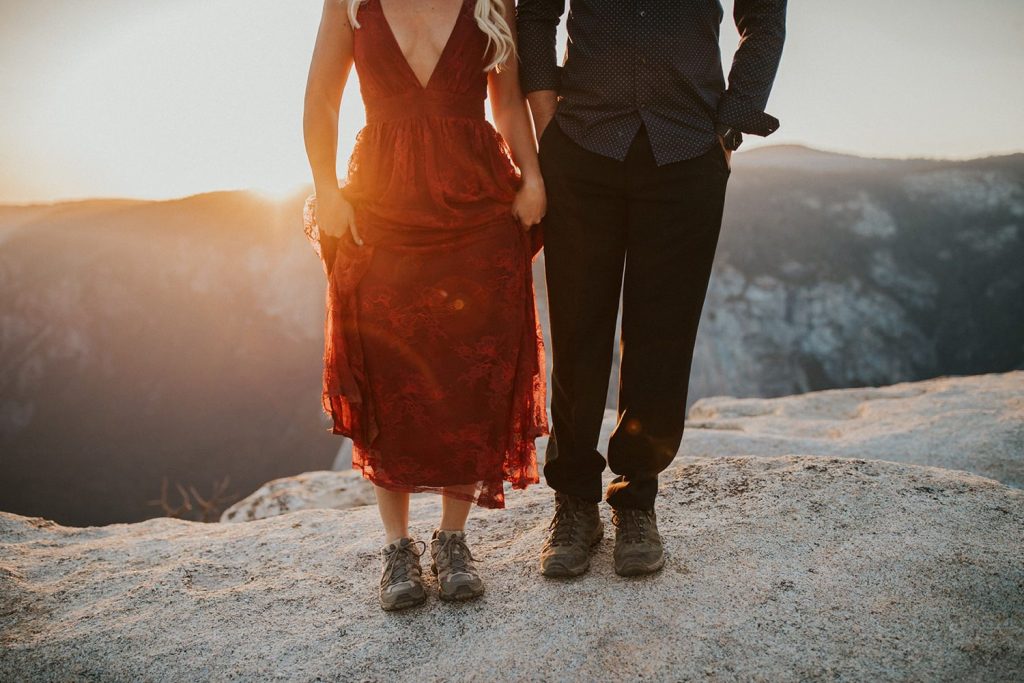
3. Wear COMFY SHOES
This is a big one lol!! It’s about a mile walk back to the cliff views from the parking lot… so you’re DEF going to want to bring some comfy shoes to walk in. You can switch into cuter shoes when you get to the spot… but 10000x don’t bring heels — I’d rather you go up on this cliffs barefoot, rather than wear heels (or any shoes) that could slip!! :((( So def bring comfy/cute shoes or booties… and also (going back to the mile walk thing)… if you’re a photographer going up there for the first time… I would recommend getting there early to figure out the path so you don’t get lost on the way or miss the sunset! Def wanna figure out how to get there ahead of time because the path might be confusing for your first time… but after you’ve hiked it once before, you’ll be fine!! :)))
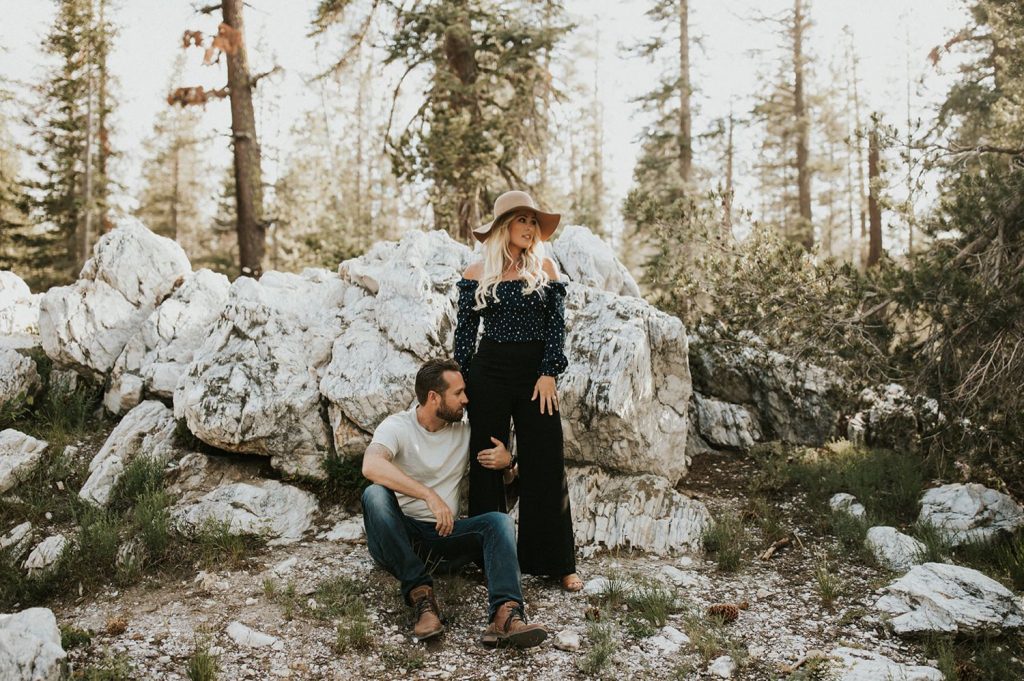
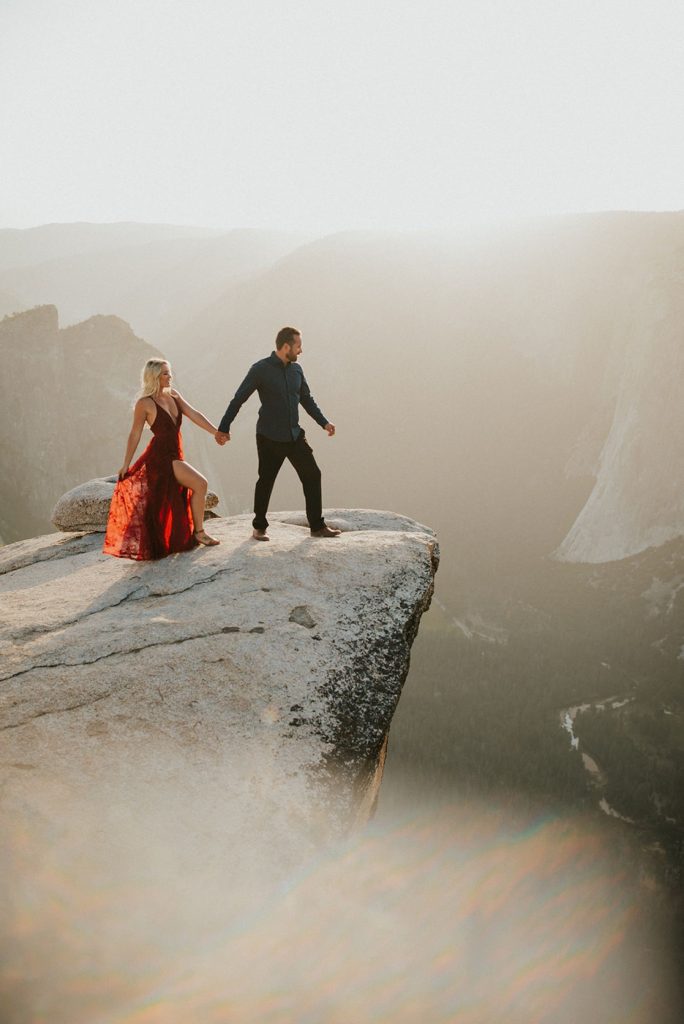
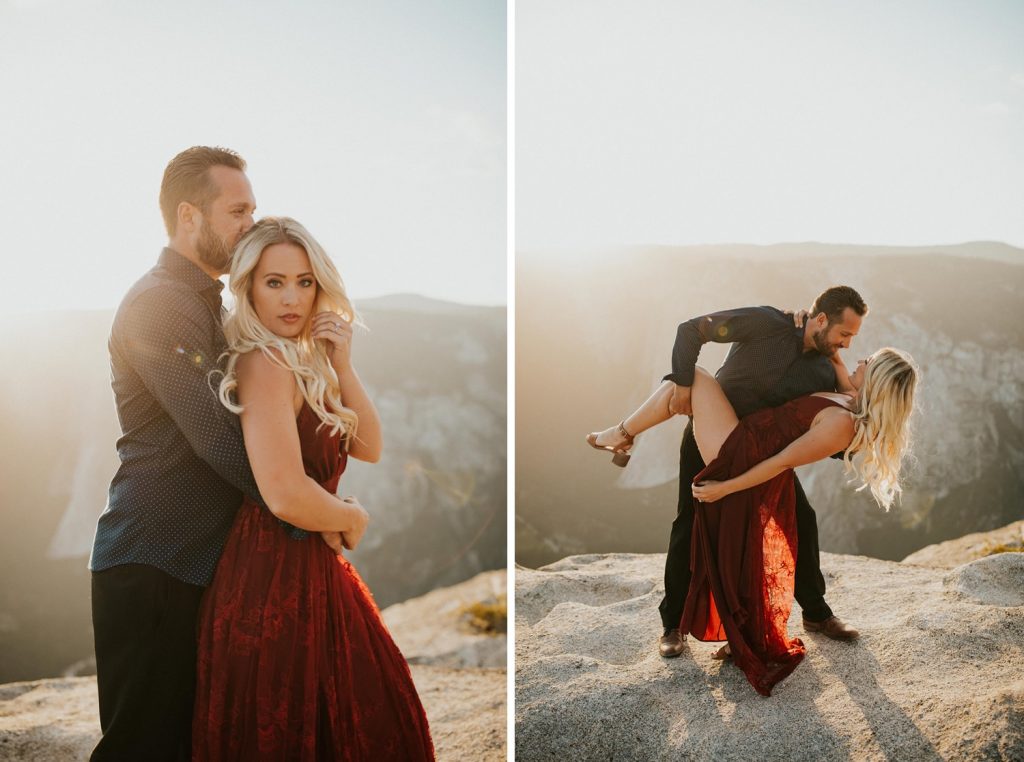
4. Bring extra CLOTHES
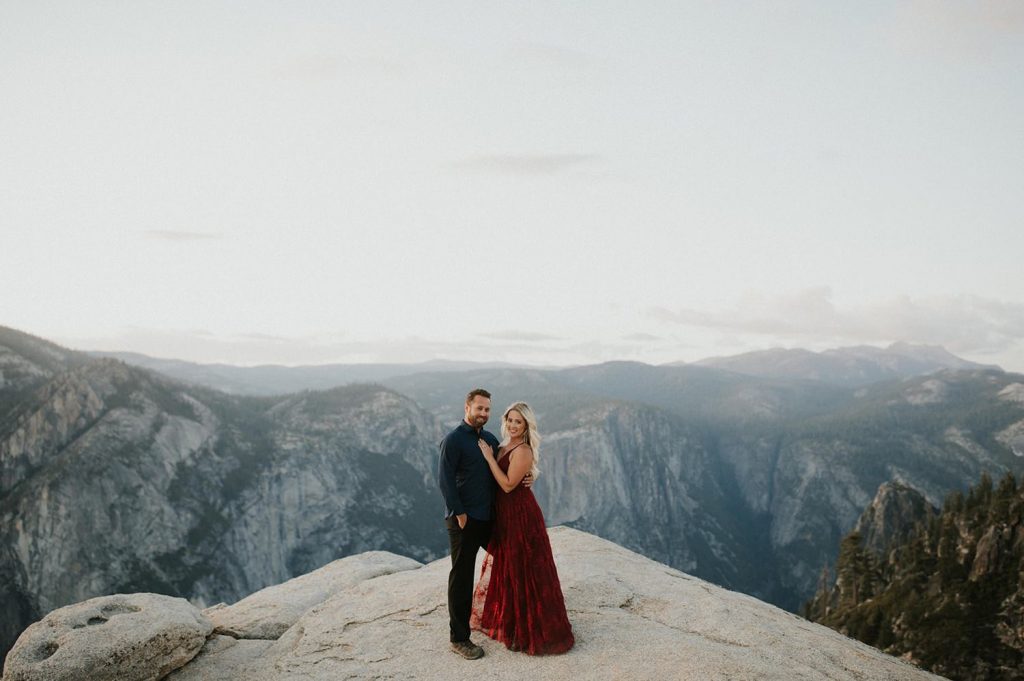
I usually have clients bring two outfits: one more casual outfit for the woodsy photos on the walk way up to the cliffs + another more dressy outfit for the cliff views :)))) You can wear the first outfit out of the car + then bring the second outfit with you. Some clients will bring a hanger to hang the dress on the back of a backpack so it doesn’t get wrinkled during the walk. I’d also recommend having it in a dress bag (or trash bag if times are tough lol!) So it doesn’t get the path’s dust kicked up on it. Colors that look good against the woodsy backdrop: white, tan, denim, mustard yellow, etc. Colors that look good against the blue/purple cliff views: Burgundy red, white, black, etc. Here’s a link of my fav amazon outfits if you still need help choosing one! :))) PS. Last outfit tip: bring some sweats & jacket to change into for the walk back to the car!
5. Bring BUG SPRAY
If you only remember ONE thing from this whole entire list… let it be this one lol!!! The mosquitos are KILLER on the walk up to the cliffs… those green/lush meadows are super beautiful & you’re probably going to want to stop & take some photos in there… BUT it’s a breeding ground for bug bites that you’ll get allllllll over your freakkinnn body lol!! So I usually just take a few photos on the walk up, but mostly keep us moving to the cliffs so we can get away from the bugs!! But def remember to bring your bug spray!!
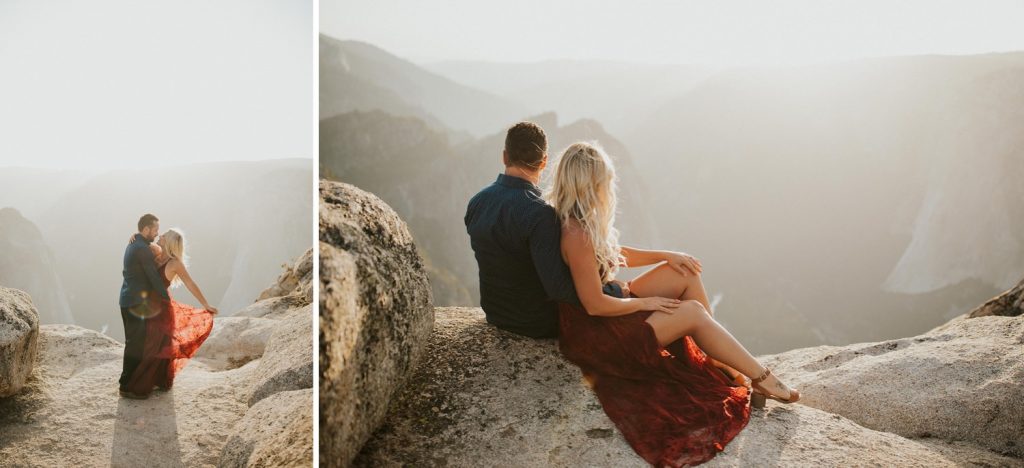
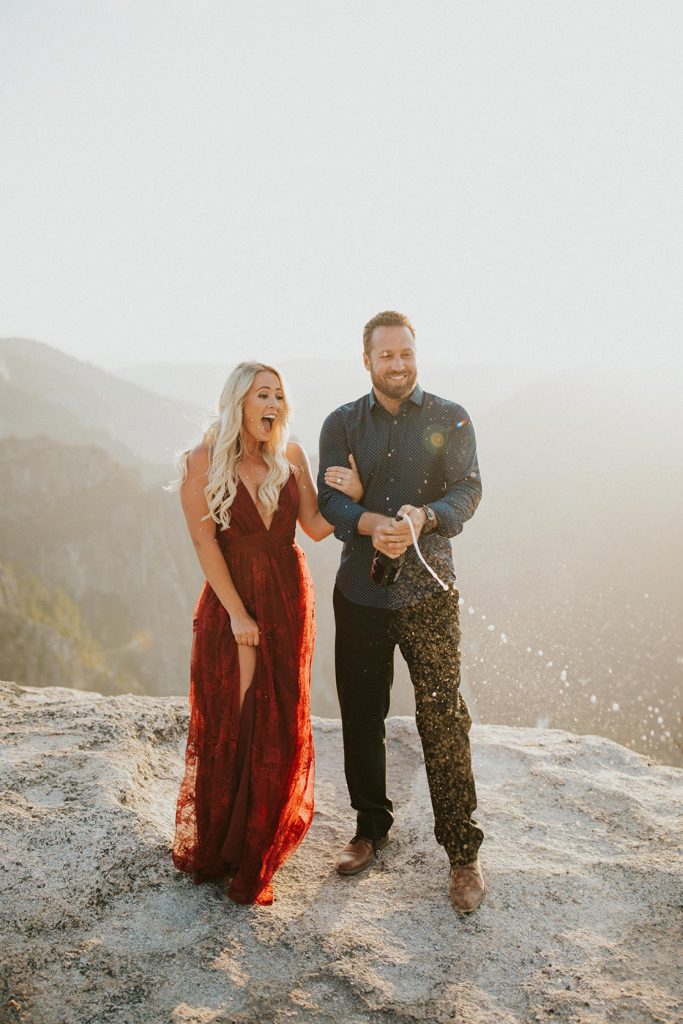
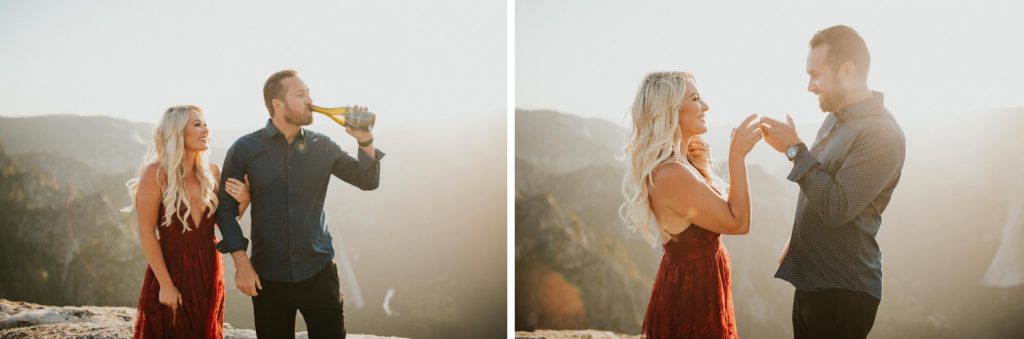
6. Bring WATER and a bottle of CHAMPAGNE
The walk isn’t strenuous or anything… but you’ll def get thirsty! So remember to bring water for yourselves :)))) And it’s always a fun idea to bring a bottle of champagne to pop once you get to the top + toast to the views!! :)))
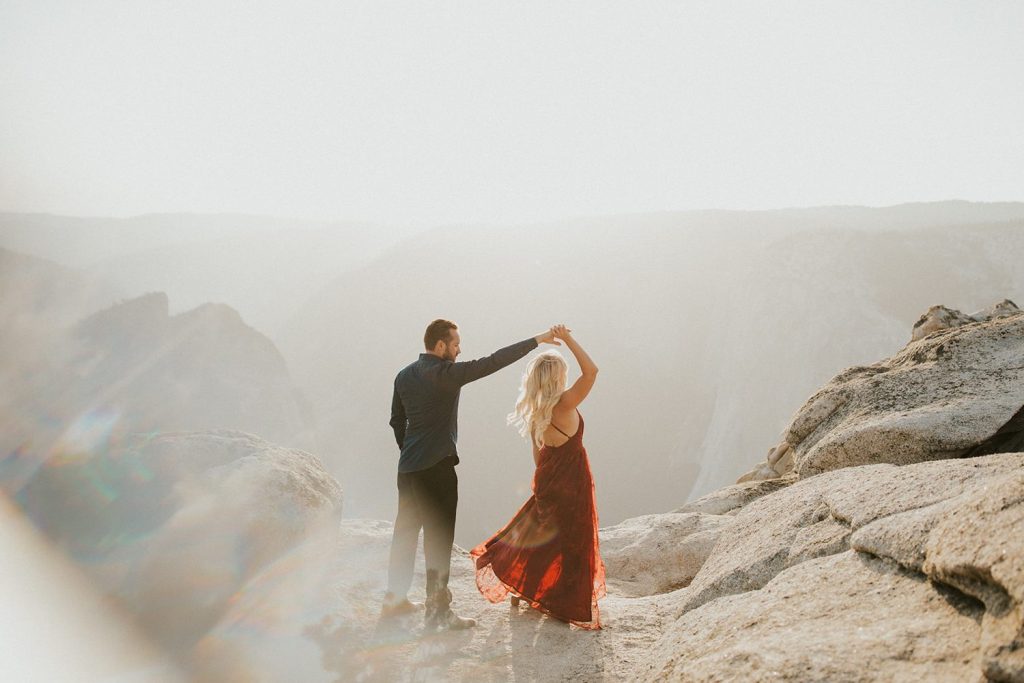
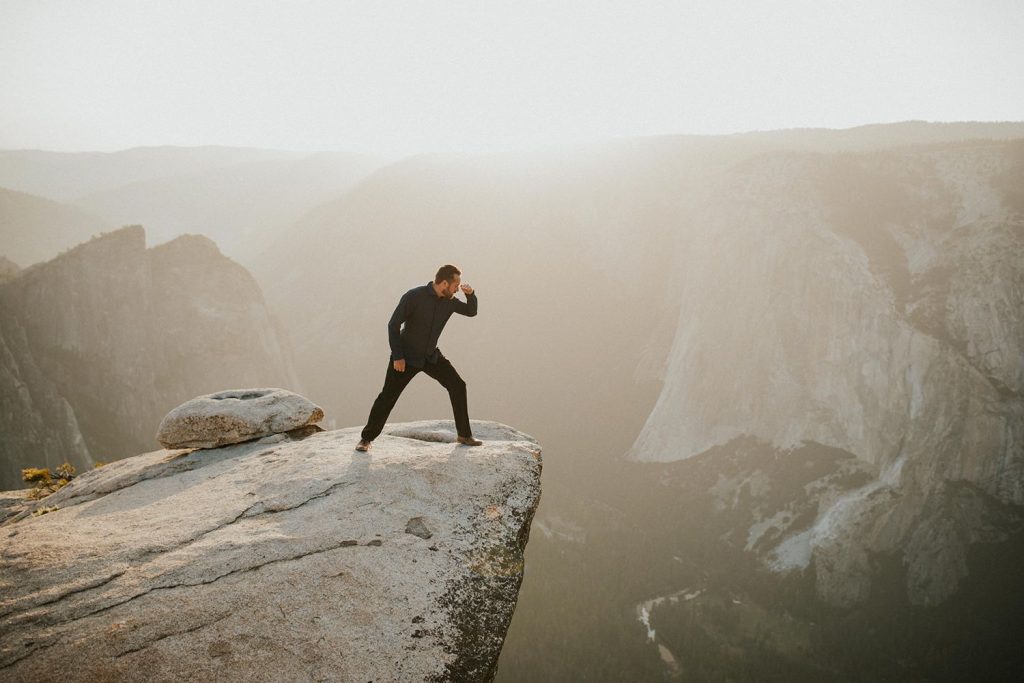
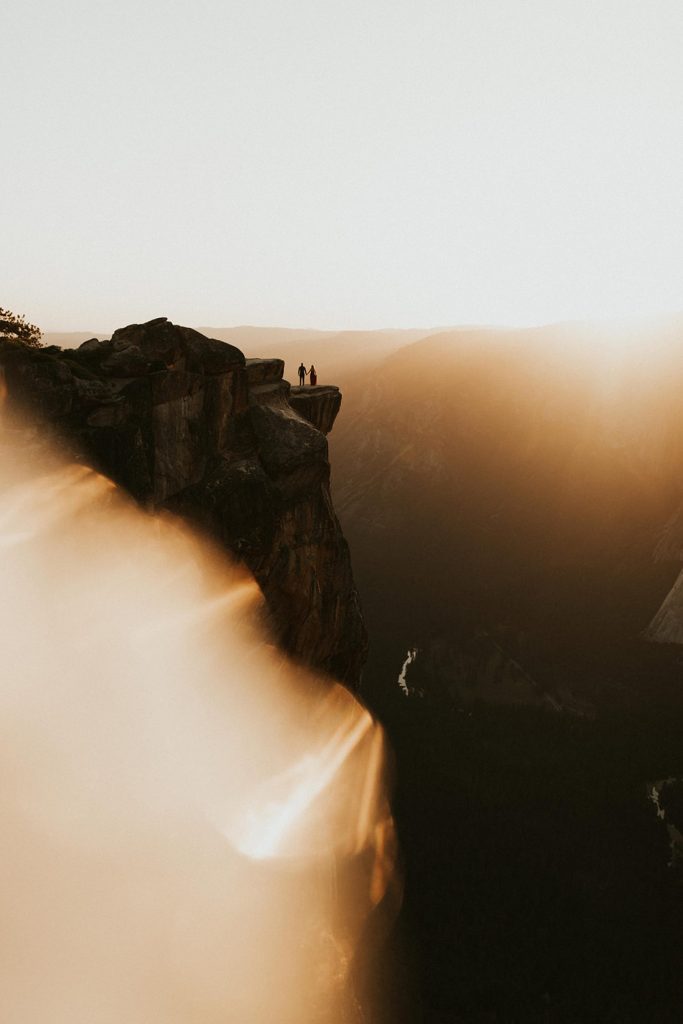
7. Do NOT get too close to the edge!!
Please for the love of God & all things holy… stay safe up there lol!! There are no railings & it can be super dangerous if you’re not careful. And this probably seems like such a “duh” thing to say… but when it’s people’s first times up there… sometimes they really have no idea how quickly the cliffs sneak up on you & drop completely off. For this reason, dogs are not allowed + honestly I wouldn’t recommend bringing your small kids up here either until they’re older. No running, no jumping… lol! And I 10000% won’t be making you get close to the edge in a photo sesh, because I wouldn’t want to get too close either lol!!
8. Bring a FLASH LIGHT
This one is of equal importance as #5!!! You’re definitely going to want to bring a flash light for the walk back to the car. After the sun officially sets, it gets SUPER dark in the woods SUPER quickly. I like to leave the views & start heading back to the car a little before the sun actually sets so that it’s not totally dark. There are bears & other animals out there… so be careful & be smart.. and if you’re uncomfortable with walking back in the dark, then just make sure that you give yourself enough time (like at least 30 mins) to start walking back before the sun sets.
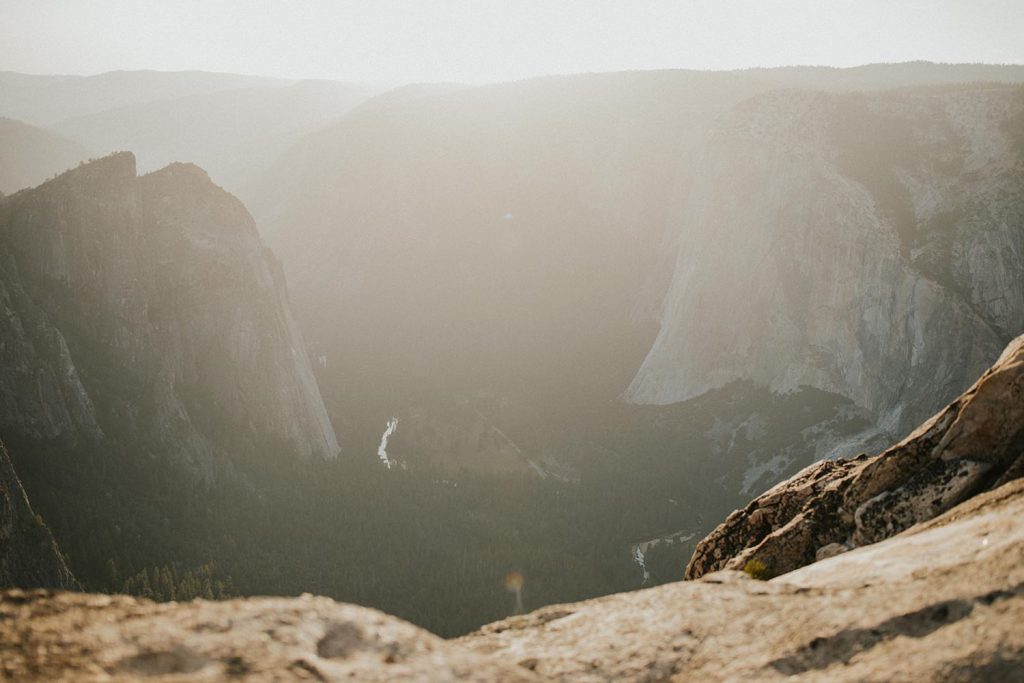
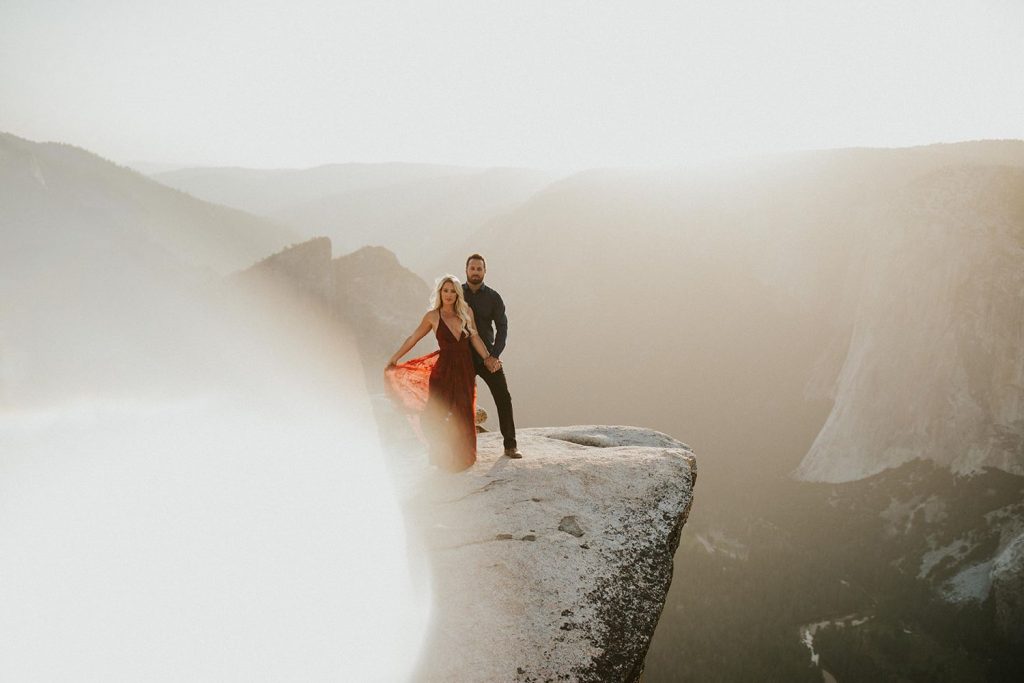
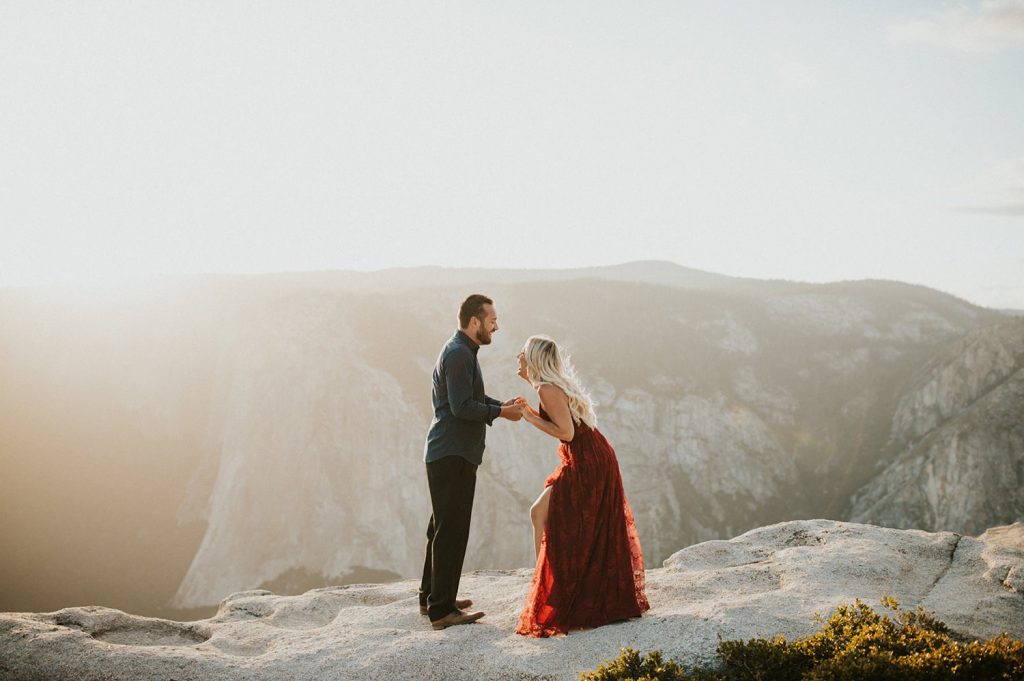
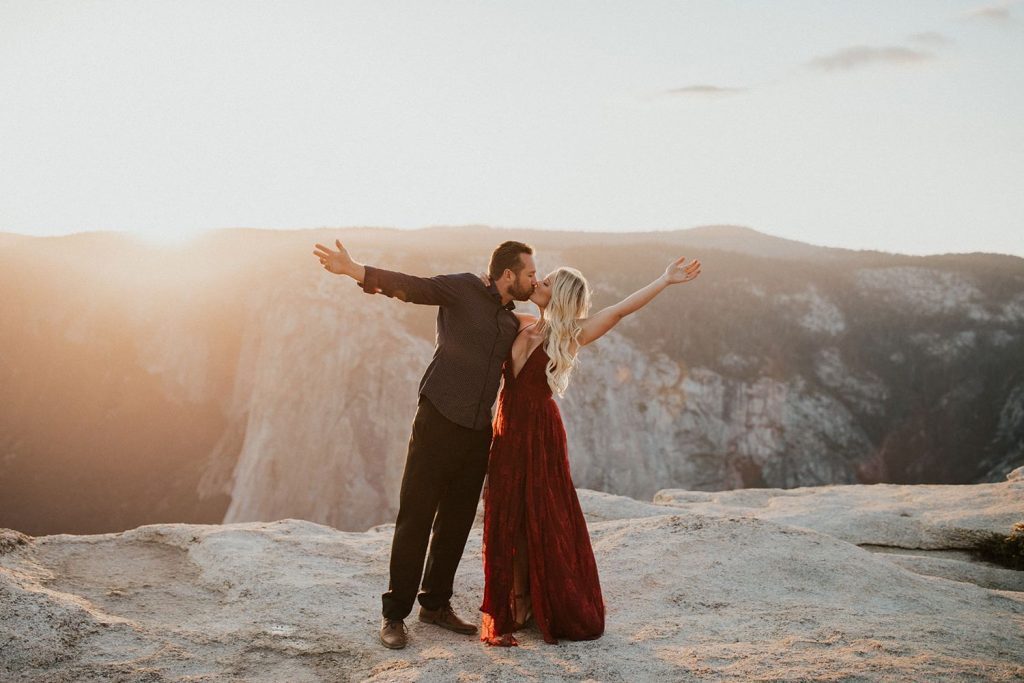
10. Most importantly… ENJOY the view :))))
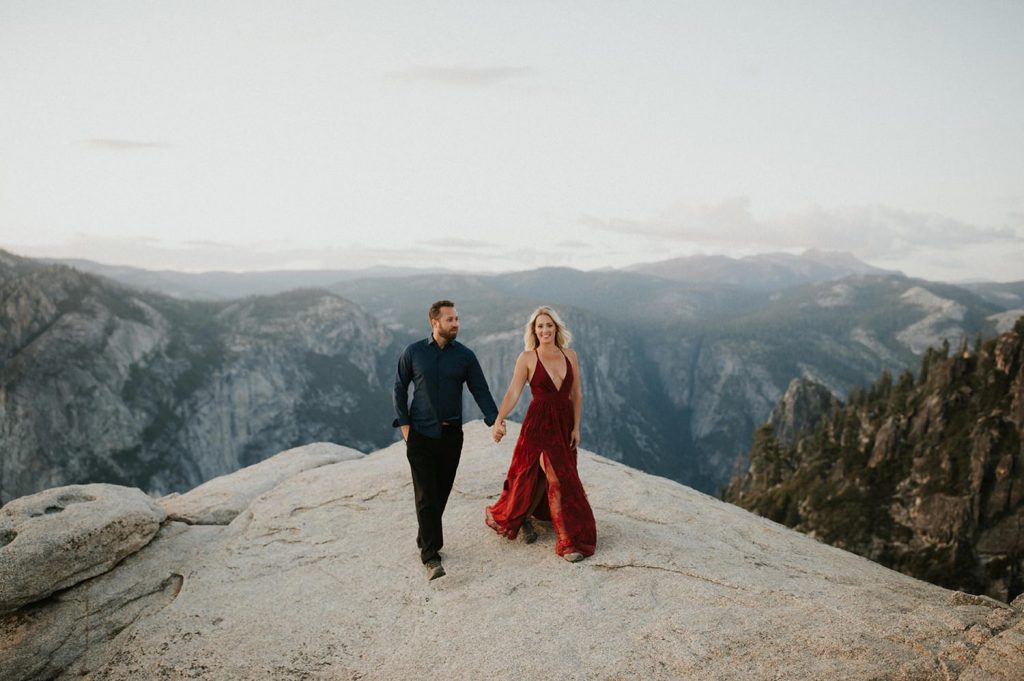
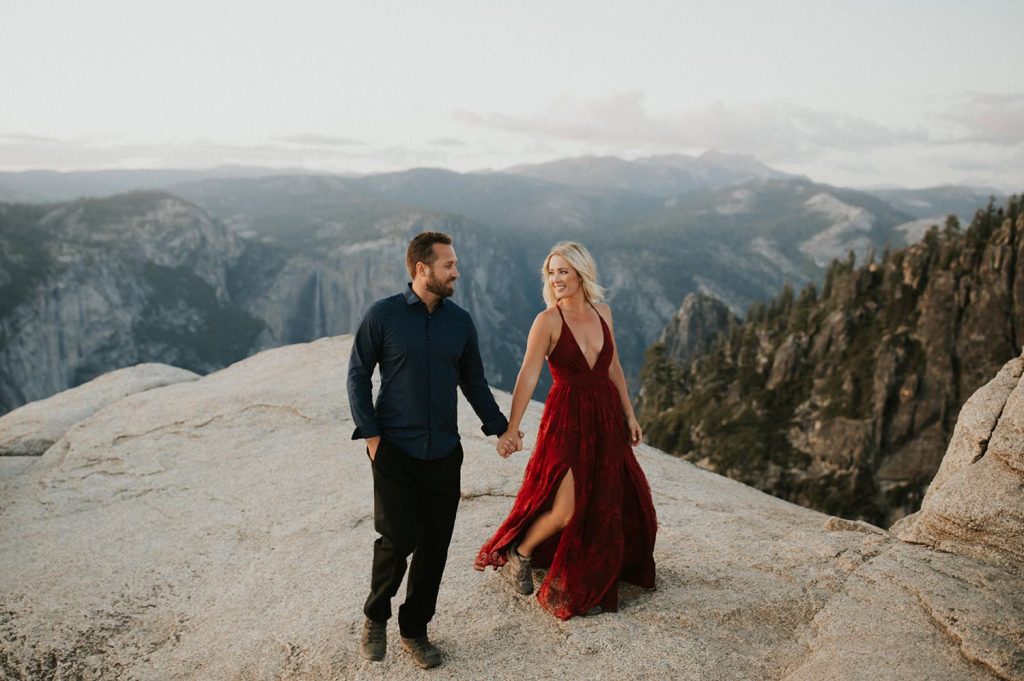
Taft Point in Yosemite at sunset is a borderline religious experience. Give yourself a moment to take it all in. Not everybody gets to see this in their lifetime (especially now with all of the corona restrictions!), so consider yourself one of the lucky ones, ENJOY your time up there, + drive back home safely!! :)))
—
Hope that these tips on how to get the best photos at the Taft Point Cliffs in Yosemite National Park were helpful! Whether you’re a client wanting photos in the most magical place ever to hang on your walls…. or a fellow photographer who’s always dreamed of taking photos up at Taft…. Just know that it’s gonna be EPIC! Have fun!! And I can’t wait to see your photos from your trip! :)))) xoxoxxx


**Click Here to View an Elopement Gallery at Taft Point by Toni G Photo**
Tips for Photos at Taft Point Cliffs


")
